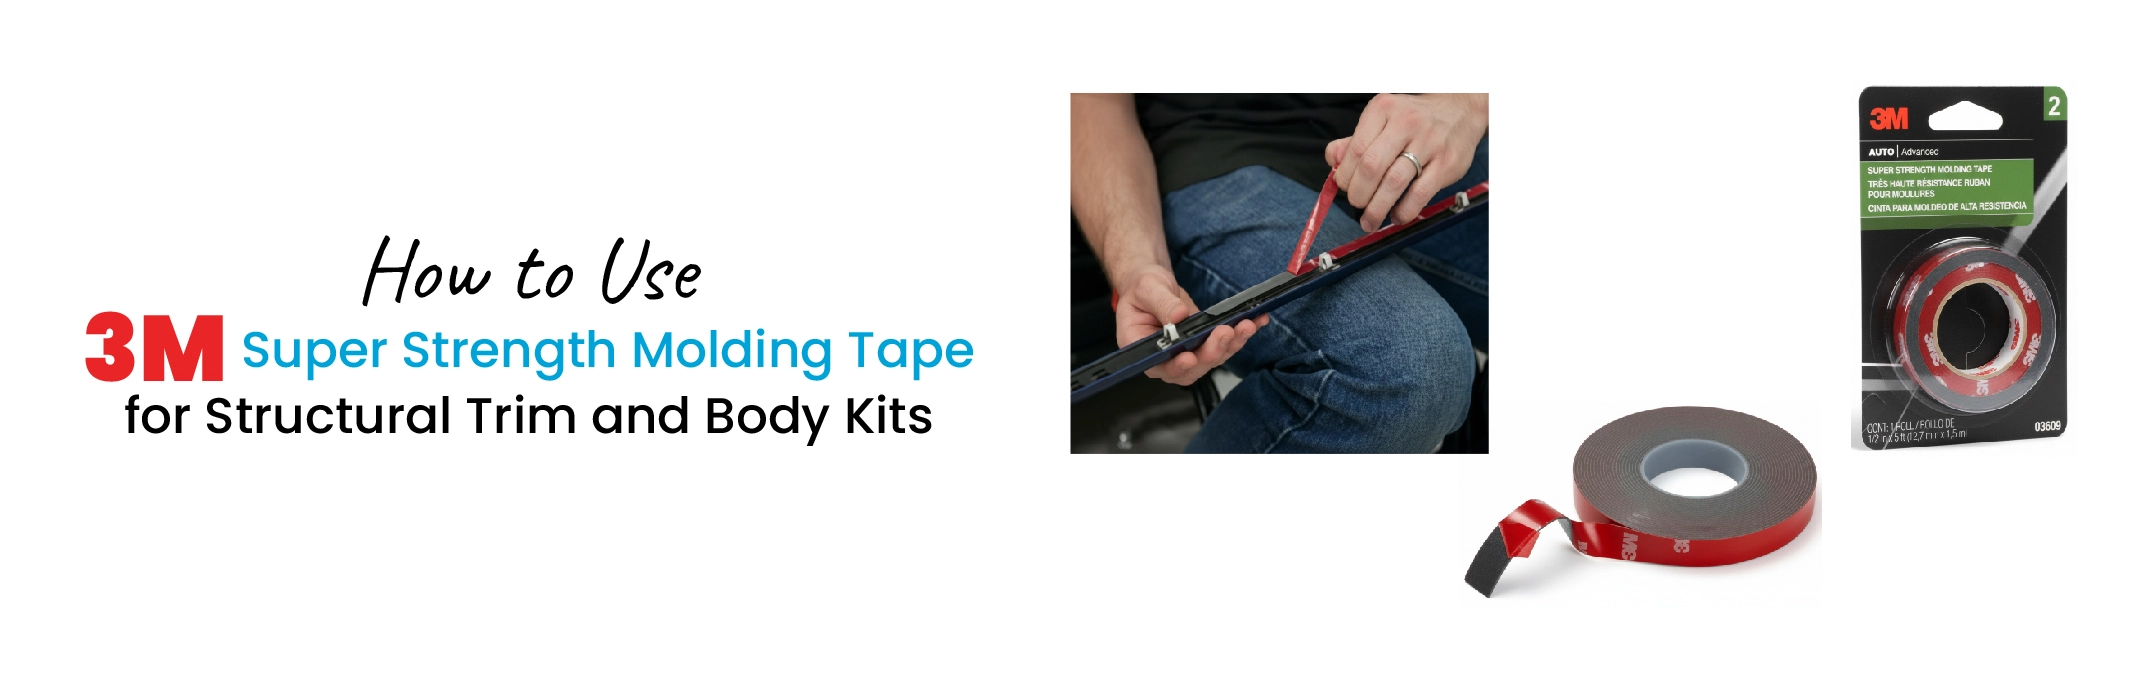
How to Use 3M Super Strength Molding Tape for Structural Trim and Body Kits
Want to give your car a new look with body kit parts or replace a piece of broken trim? For a long time, car repairs and upgrades meant dealing with messy glues, lots of clamps, or drilling holes for screws and rivets. Luckily, there's a much easier and cleaner way today: super strong automotive tape.
A product like 3M Super Strength Molding Tape has changed how people attach exterior car parts. It gives you a clean, simple, and very tough way to bond things together permanently. This high-performance 3M double sided tape heavy duty option is the professional standard for most exterior modifications.
This guide is for anyone who wants to learn the simple steps for using this tough adhesive tape on their car. We’ll show you how to use it for everything from small pieces of trim to larger body kit parts.
What Makes 3M Super Strength Molding Tape Special?
Automotive molding tape is a double-sided tape that usually has a thick, spongy foam core made of acrylic. If you are wondering what is molding tape, this special design is what makes it strong enough for your car's exterior. It is not like the regular double-sided tape you use inside your house!
The biggest benefit of using 3M Super Strength Molding Tape application is that it creates a bond that is both incredibly secure and a little bit flexible. That flexibility is key on a car. Your car panels get hot and cold, making them swell and shrink. They also shake and vibrate all the time when you drive. If you use a rigid glue, it would soon crack and fall apart. The foam in the tape absorbs all that movement and impact, keeping the bond strong for a long time.
This tape is a fantastic way to avoid traditional ways of fastening things. If you are looking to install car body kits with tape or just stick a piece of plastic trim back on, using 3M tape instead of screws on car means you don't have to drill any new holes. The job is faster and the finish is cleaner. Plus, these tough tapes are made to handle all kinds of weather. If you're asking, is 3M Super Strength Molding Tape waterproof? Yes, it is designed to keep water out, along with dirt and car wash chemicals.
Step 1: Getting Ready (The Most Important Part)
The final strength of the tape, including 3M Super Strength Molding Tape, depends almost entirely on how well you clean the surfaces first. You could say that getting ready is 90% of the job! Skip this, and the bond will fail.
A. Clean Both Sides
You need two things to be perfectly clean: the car body and the back of the trim or body kit part. You must get rid of all dirt, old wax, polish, oil, or any loose stuff.
- Wash and Dry: Start by washing the area with regular car soap and water, then dry it completely with a clean towel.
- Degrease: Next, use a special car degreaser or rubbing alcohol. Wipe down both surfaces the car and the part very well. Use a clean cloth or paper towel so you don't just spread the dirt around. The surface should feel totally clean and bare.
- Wait for Dryness: Let everything air dry fully. Any wetness left behind will stop the tape from sticking properly.
B. Mark Where It Goes
It is very important to know what is molding tape used for and exactly where the part will sit before you start sticking the tape. Hold your trim or body kit piece up to the car and check its final position. Use small pieces of masking tape to mark the edges on the car's body. This guides you when you install the part, as this tape is so strong you only get one chance!
C. Put the Tape on the Part
It’s always easier to put the tape on the part first, rather than the car body.
- Cut: Cut pieces of the tape to fit the back of the part. Don't peel off the red plastic liner yet!
- Apply: Stick the tape down in long strips along the back of the piece, especially near the edges.
- Press Hard (This is Key!): With the red liner still on, press down very hard on the tape with your thumb or a small roller. This pressure is what makes the adhesive wake up and stick strongly later. Do not skip this step.
D. Adhesion Helper (Optional)
For bigger, heavier parts, or if you are bonding automotive plastic to metal, you can use an adhesion promoter. This liquid acts like a primer and helps the plastic and paint grab onto the tape even better. Use a very small amount on the car's clean surface (the paint) and let it dry completely before you move on.
Step 2: Sticking it Down
With the tape now stuck firmly to your trim piece, it’s time for the final step. This is where the toughness of the 3M automotive molding tape really shines.
A. Take the Liner Off
Carefully peel off the red protective liner to show the black foam. Try not to touch the sticky tape with your fingers, as the oils from your skin can weaken the bond.
B. Line it Up
Use the marks you made with the masking tape to line up the part exactly where it needs to go. Take your time here. When you are sure it’s in the right spot, gently touch one edge of the part to the car's surface.
C. Press, Press, Press!
Now for the last, most vital step: apply firm, hard pressure all over the part. You need to press hard for at least 30 seconds, covering every area where the tape is stuck underneath. The stronger you press, the stronger the final bond will be. You can use a clean, soft cloth or a special application roller for this step.
D. Give it Time to Set
The car molding tape feels strong right away, but the tape’s adhesive needs time to get to its absolute maximum strength. This is called the “curing” time. For the best result, try to avoid washing the car, driving very fast, or letting the new part get wet or stressed for about 72 hours (three full days). This waiting time lets the tape fully set and achieve its strongest, most reliable grip.
How Long Will it Last?
One of the great things about using a powerful tape like this is its long life. When you prepare the surfaces correctly and follow the instructions, the bond created by 3M Super Strength Molding Tape is meant to be permanent. It should easily last the entire life of your car.
This auto molding tape is built tough for the automotive world. It stands up against:
- Extreme Weather: It holds in the hottest summers and the coldest winters.
- Water and Wetness: As mentioned, 3M Molding Tape is waterproof. It creates a tight seal that stops moisture from getting in.
- Car Washes: It resists car wash soaps, waxes, and the powerful jets of water.
By following these simple steps, you are ensuring that the tape gives you the secure bond needed for your structural trim and body kit pieces. You will have confidence that it is the best tape for car trim applications and that you know how long does 3M molding tape last a very long time.
Conclusion
Using 3M Super Strength Molding Tape is a simple, smart, and strong way to attach car trim and body kit parts without the mess of glue or the trouble of drilling. The simple way to get the work done perfectly is a super clean surface a car alignment and pressing as hard as you can. Do these three things right, and you’ll get a tough bond that will keep your car looking great for years.
Check out our selection of automotive supplies at M-Source to get started.