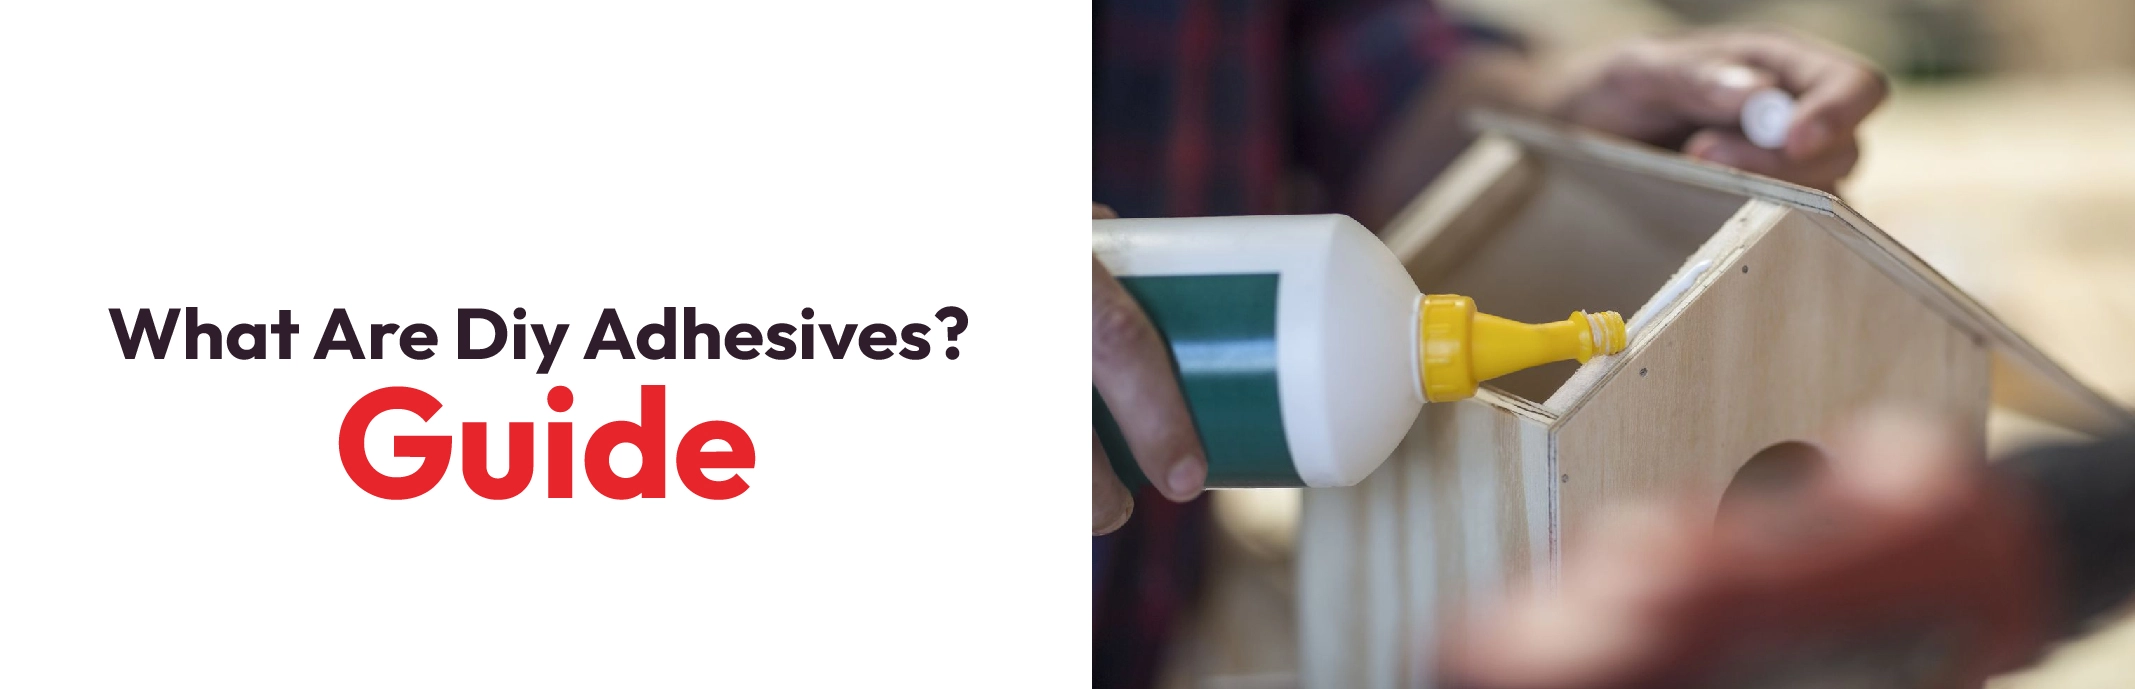
What Are DIY Adhesives? Guide
Have you ever stood in the middle of a hardware store aisle, staring at dozens of different tubes, wondering which one will actually fix your broken chair? Whether you are trying to mend a cracked ceramic vase, building a custom bookshelf, or tackling a quick fix around the kitchen, choosing the right DIY adhesives is the most important step. Many people assume that a bottle of glue is just a bottle of glue, but the reality is that using the wrong one can lead to a messy failure.
This DIY adhesives guide is designed to take the guesswork out of your home projects. We will look at how different materials react to different bonding agents and show you how to get professional results without needing a degree in chemistry. From the diy household adhesives to your own workbench, here is how to make things stay together for good.
Understanding the DIY Household Adhesives Sealant Market
In recent years, the DIY adhesives sealant market has shifted significantly. We are seeing a move away from "one-size-fits-all" products toward specialized formulas. Manufacturers are now creating glues that can handle extreme heat, constant vibration, or even underwater application.
For the average homeowner, this means you have more power than ever to perform high-quality repairs. Whether you are looking for a flexible sealant for a leaky sink or a rigid bond for a broken wooden leg, the modern market has a specific solution. The trick is knowing how to navigate these choices.
The Types and Uses of Essential DIY Adhesives
When starting an adhesives DIY project, you need to understand the five main types of adhesives found in most homes.
1. PVA (Polyvinyl Acetate)
This is your standard white and yellow glue. It is non-toxic, cleans up with water, and is the go-to for anything involving paper or wood.
- Best for: Furniture assembly, school projects, and porous wood.
- Pro Tip: Yellow "carpenter's glue" has a quicker grab and is more moisture-resistant than white glue.
2. Cyanoacrylates (Super Glues)
These are high-speed, high-strength bonds. They work best on non-porous materials where the fit is very tight.
- Best for: Ceramic, hard plastics, and jewelry repair.
- Warning: These don't fill gaps. If the two pieces don't touch perfectly, the glue won't hold.
3. Epoxies
When you hear someone talk about "industrial strength" for home use, they are usually talking about epoxy. These come in two tubes: a resin and a hardener.
- Best for: Metal, stone, glass, and filling in cracks where pieces might be missing.
- Benefit: Once cured, epoxy can be sanded, drilled, and painted.
4. Polyurethane Glue
Commonly known by brand names like Gorilla Glue, these are incredibly versatile. They actually need a little bit of moisture to activate, which makes them unique.
- Best for: Sticking unlike materials together (like wood to a stone coaster).
- Note: This glue expands as it dries. If you aren't careful, it can ooze out of the sides of your project.
5. Contact Cements
Unlike other glues, you apply contact cement to both surfaces, let them dry until they are tacky, and then press them together. The bond is instant.
- Best for: Large veneers, laminates, or leather work.
Mastering the Adhesives DIY Process
To get the most out of this DIY adhesives guide, you have to treat the application process with respect. Here is a simple step-by-step to ensure your project doesn't fall apart.
Step 1: Clean and Abrade
Wipe down your surfaces with a degreaser or alcohol. If the surface is very smooth, like a piece of PVC pipe or a metal sheet, use a bit of sandpaper to "scuff" it. This gives the DIY adhesives more surface area to grab onto at a microscopic level.
Step 2: The Dry Run
Always fit your pieces together before you apply the glue. Once the glue is on, the clock starts ticking. You don't want to find out that a piece is backwards when your fingers are already getting sticky.
Step 3: Application and Clamping
Apply an even, thin layer. Most people use way too much glue, which actually creates a weaker bond. Once applied, use clamps or heavy weights. Pressure is what forces the adhesive into the pores of the material.
Step 4: The Cure
Respect the "Cure Time" on the bottle. Just because a glue feels dry to the touch in ten minutes doesn't mean it's ready to hold weight. For most heavy-duty adhesives DIY tasks, wait a full 24 hours.
Troubleshooting Common Issues
- The Glue Won't Dry: This usually happens if the air is too cold or if you are using a water-based glue on a non-porous material (like trying to stick plastic to plastic with white school glue).
- The Bond Snapped: If the bond was brittle (like super glue) and the item was dropped, it will snap. In these cases, try an epoxy or a flexible sealant instead.
- Messy Squeeze-Out: If glue oozes out of the joint, wait for it to get "rubbery" before scraping it off with a putty knife. If you wipe it while it's wet, you might just smear it deeper into the wood grain.
The Future of Bonding and New Trends Taking Over the Market
As we look at the DIY household adhesives sealant market moving forward, we see more focus on sustainability. Many new glues are being made with bio-based materials that are safer for the environment and the user. At the same time, the strength of these "green" glues is finally starting to match the old chemical-heavy versions.
Conclusion
Building and fixing things should be a rewarding experience, not a frustrating one. By following this DIY adhesives guide, you can walk into any project knowing exactly which bottle to reach for. Remember: clean your surfaces, choose the right glue for the material, and give it the time it needs to cure. With the right adhesive, you aren't just fixing an object; you're making it better than it was before.
M-Source is your partner in quality DIY. We provide the essential components and supplies to help you build things that last. Visit M-Source today and let’s get to work!